Marketing/Technical Consulting ZWP
+49 9187 9522-264
+49 9187 9522-50
sonja.kuehne@frenco.de
Contact as vCard
Technical Sales/Technical Consulting ZWP
+49 9187 9522-231
+49 9187 9522-50
joerg.goeldner@frenco.de
Contact as vCard
Double Flank Test Machines
The Double Flank Gear Test is a quick and simple inspection method for gears.
The basic principle of the Double Flank Gear Test is based on a master gear (a near perfect gear) and a workpiece in tight mesh contact, free from backlash. The inspection machine has one rotational axis which is fixed and one which is movable. The centre distance variations during the measuring process are caused by form errors on the workpiece and are the basis for the quality assessment. Depending on your workpiece geometry, FRENCO provides various types of machines.
All Machines are equipped with FRENCO Measurement Electronics. Evaluation is done with our FRENCO Software.
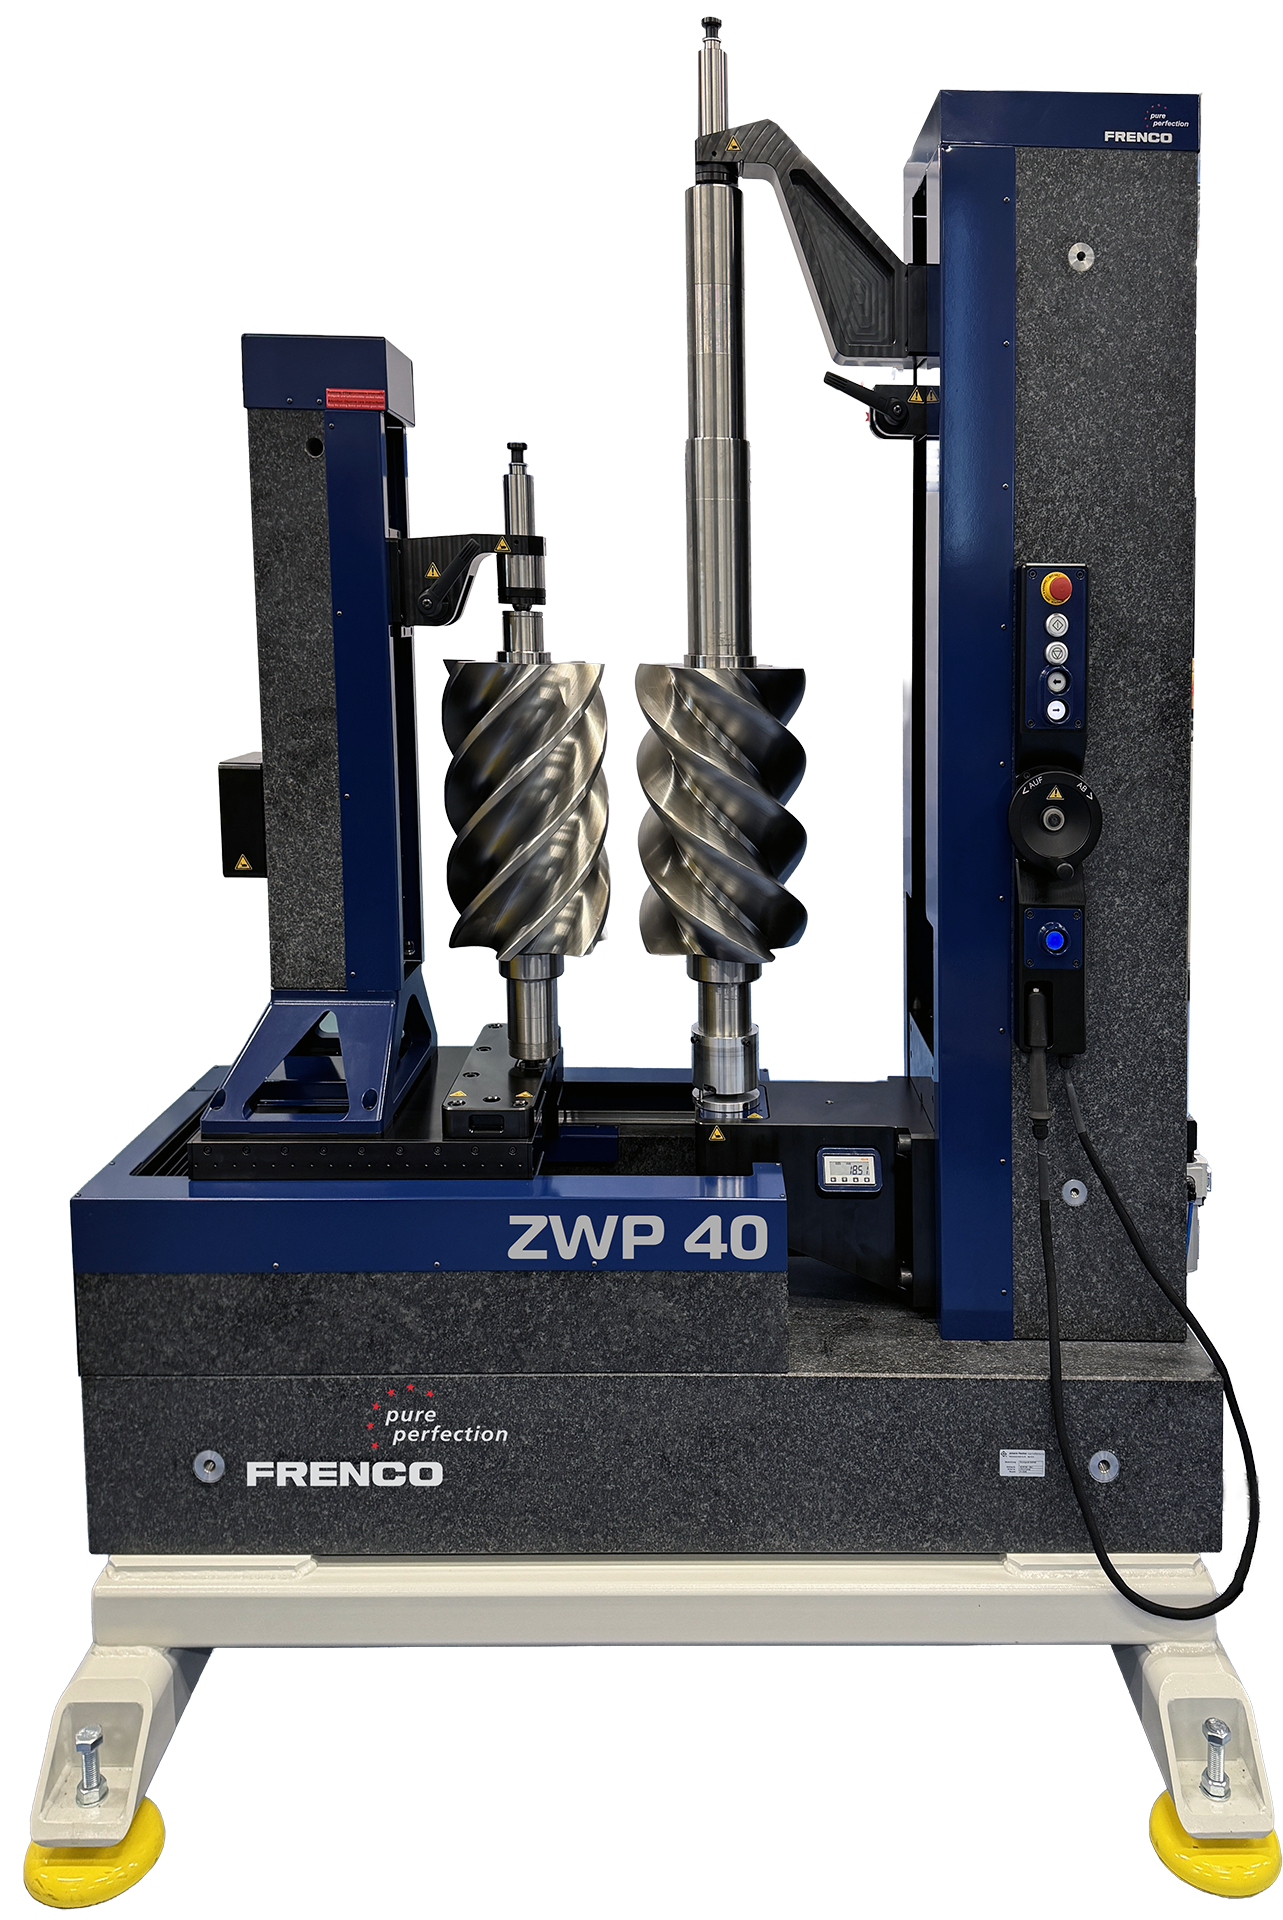
New: Precision solution for screw compressors and large shafts – developed by FRENCO
Screw compressors are among the most efficient solutions for continuous compressed air generation in industry and trade — especially where demand is constant. They are used across numerous key industries, including the automotive, plastics, and packaging sectors, as well as in sensitive fields such as food production and medical technology. They also play a central role in refrigeration and air conditioning technology, for example in heat pumps.
In these demanding applications, one factor is critical: Maximum quality and absolute process reliability. Only precisely manufactured screw compressors ensure long-term efficiency, reliability, and consistently high compressed air quality.
The answer: The FRENCO ZWP 40
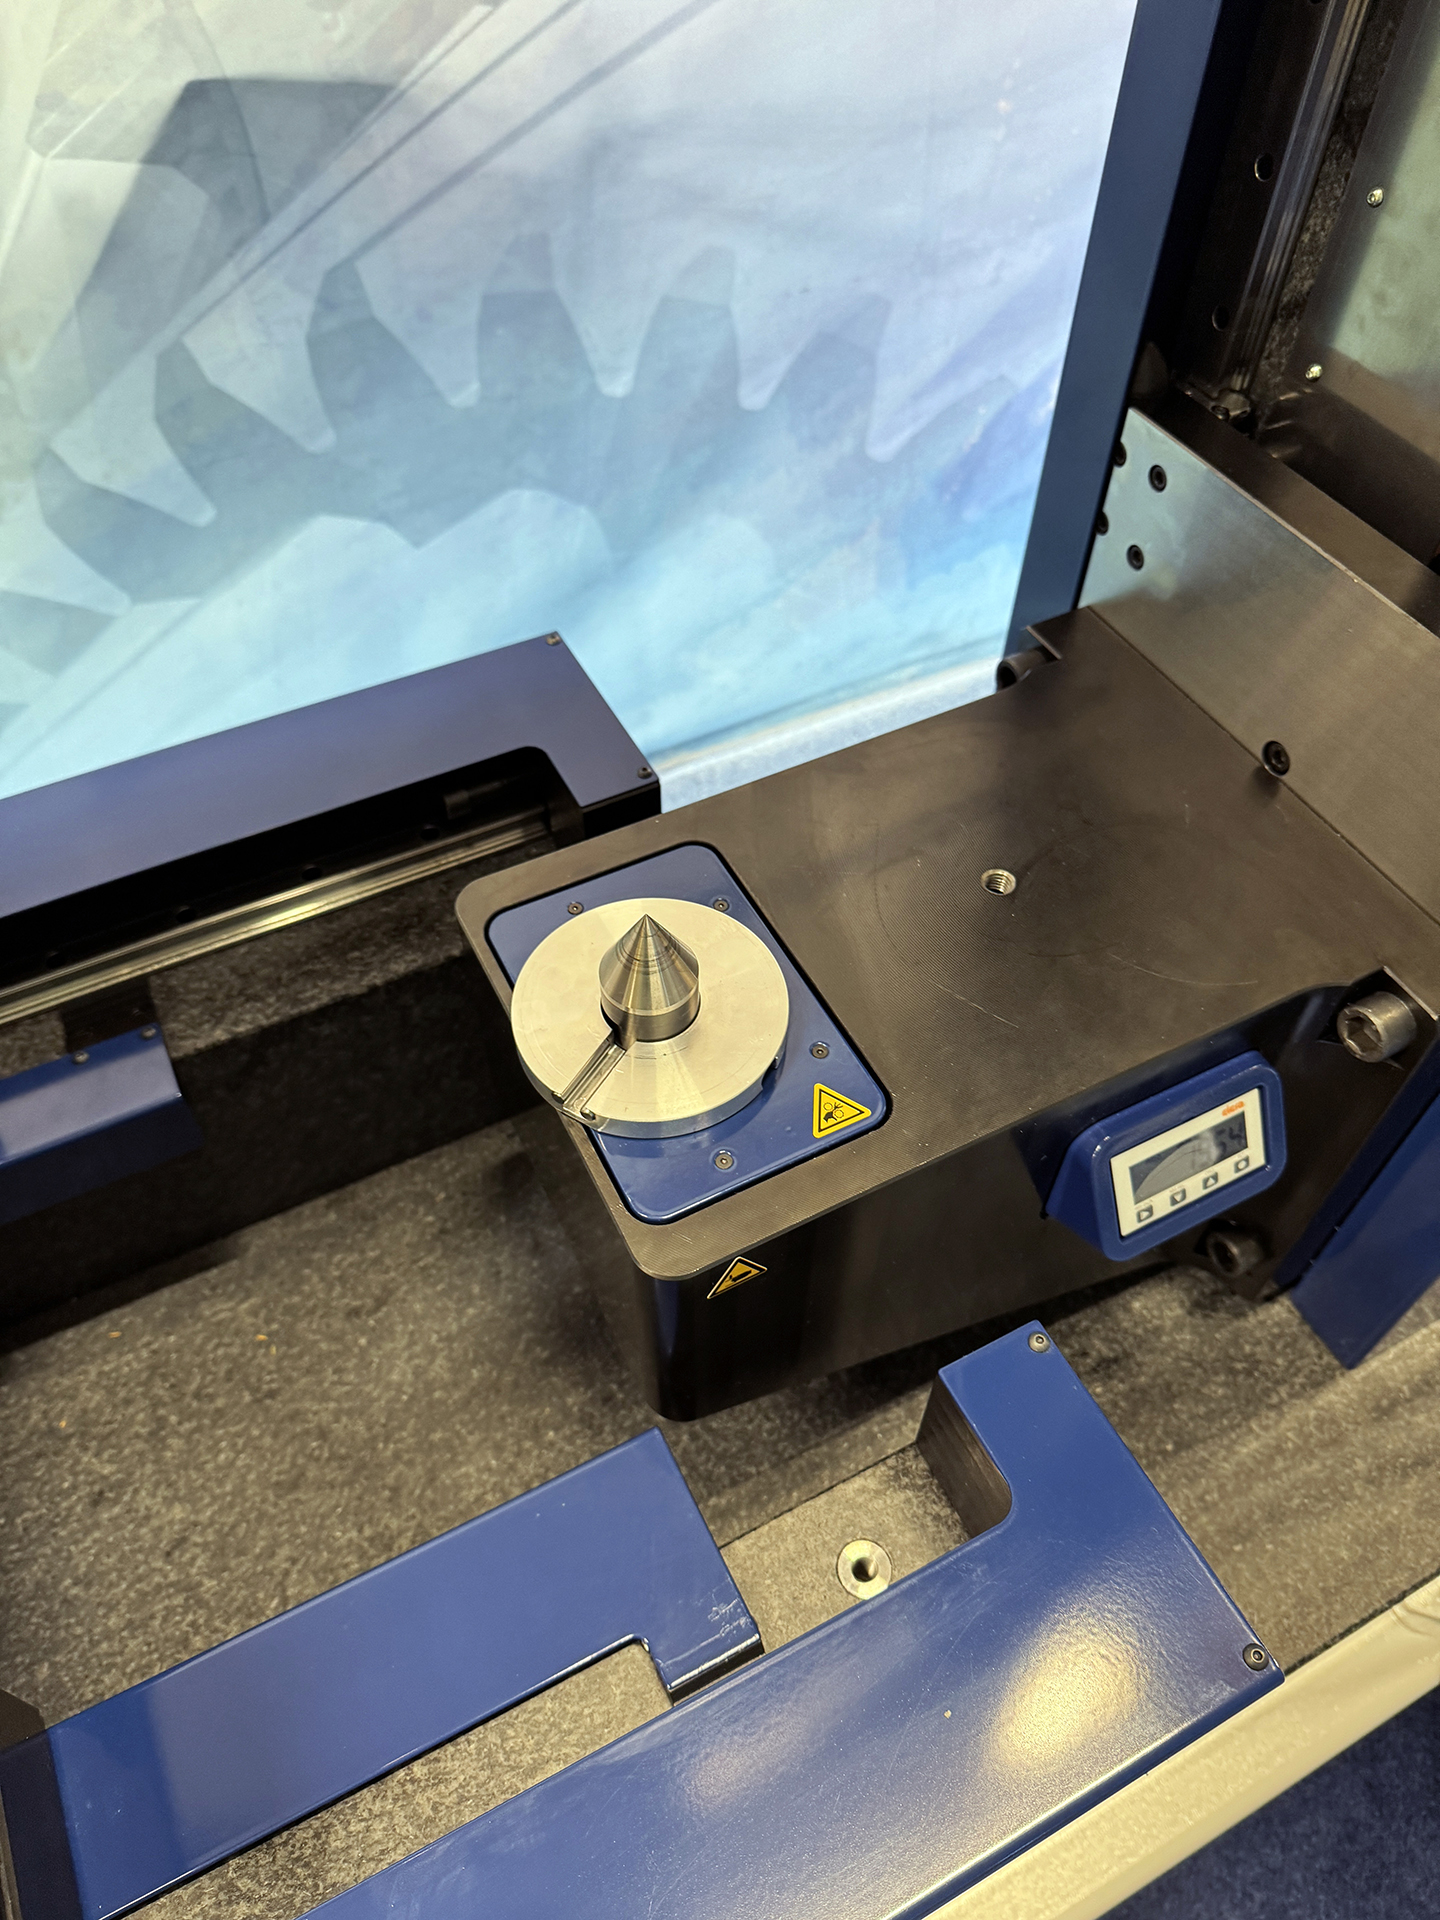
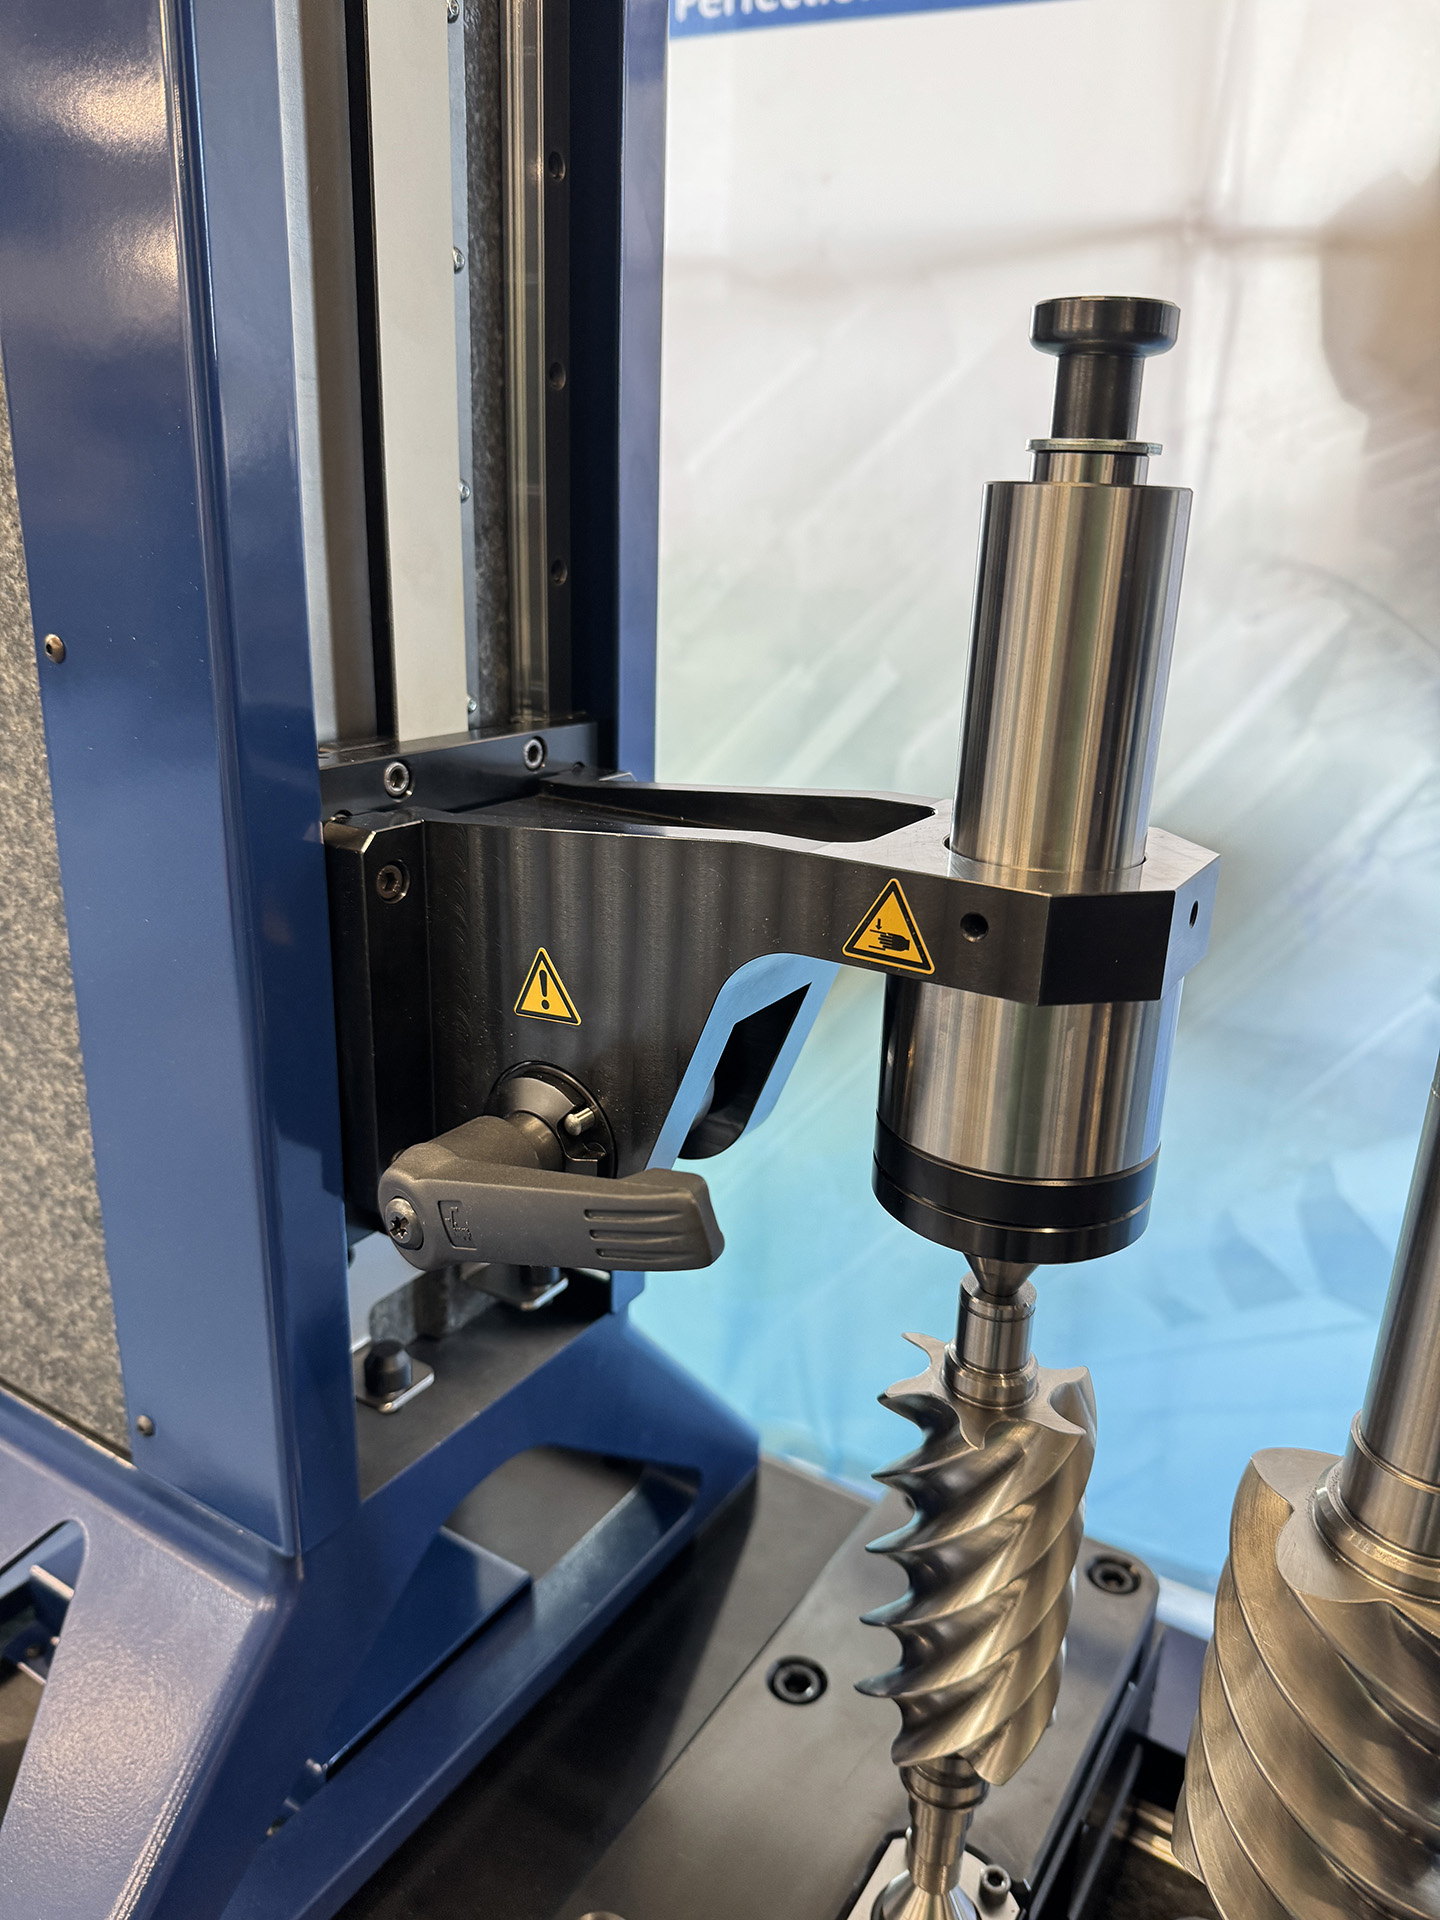
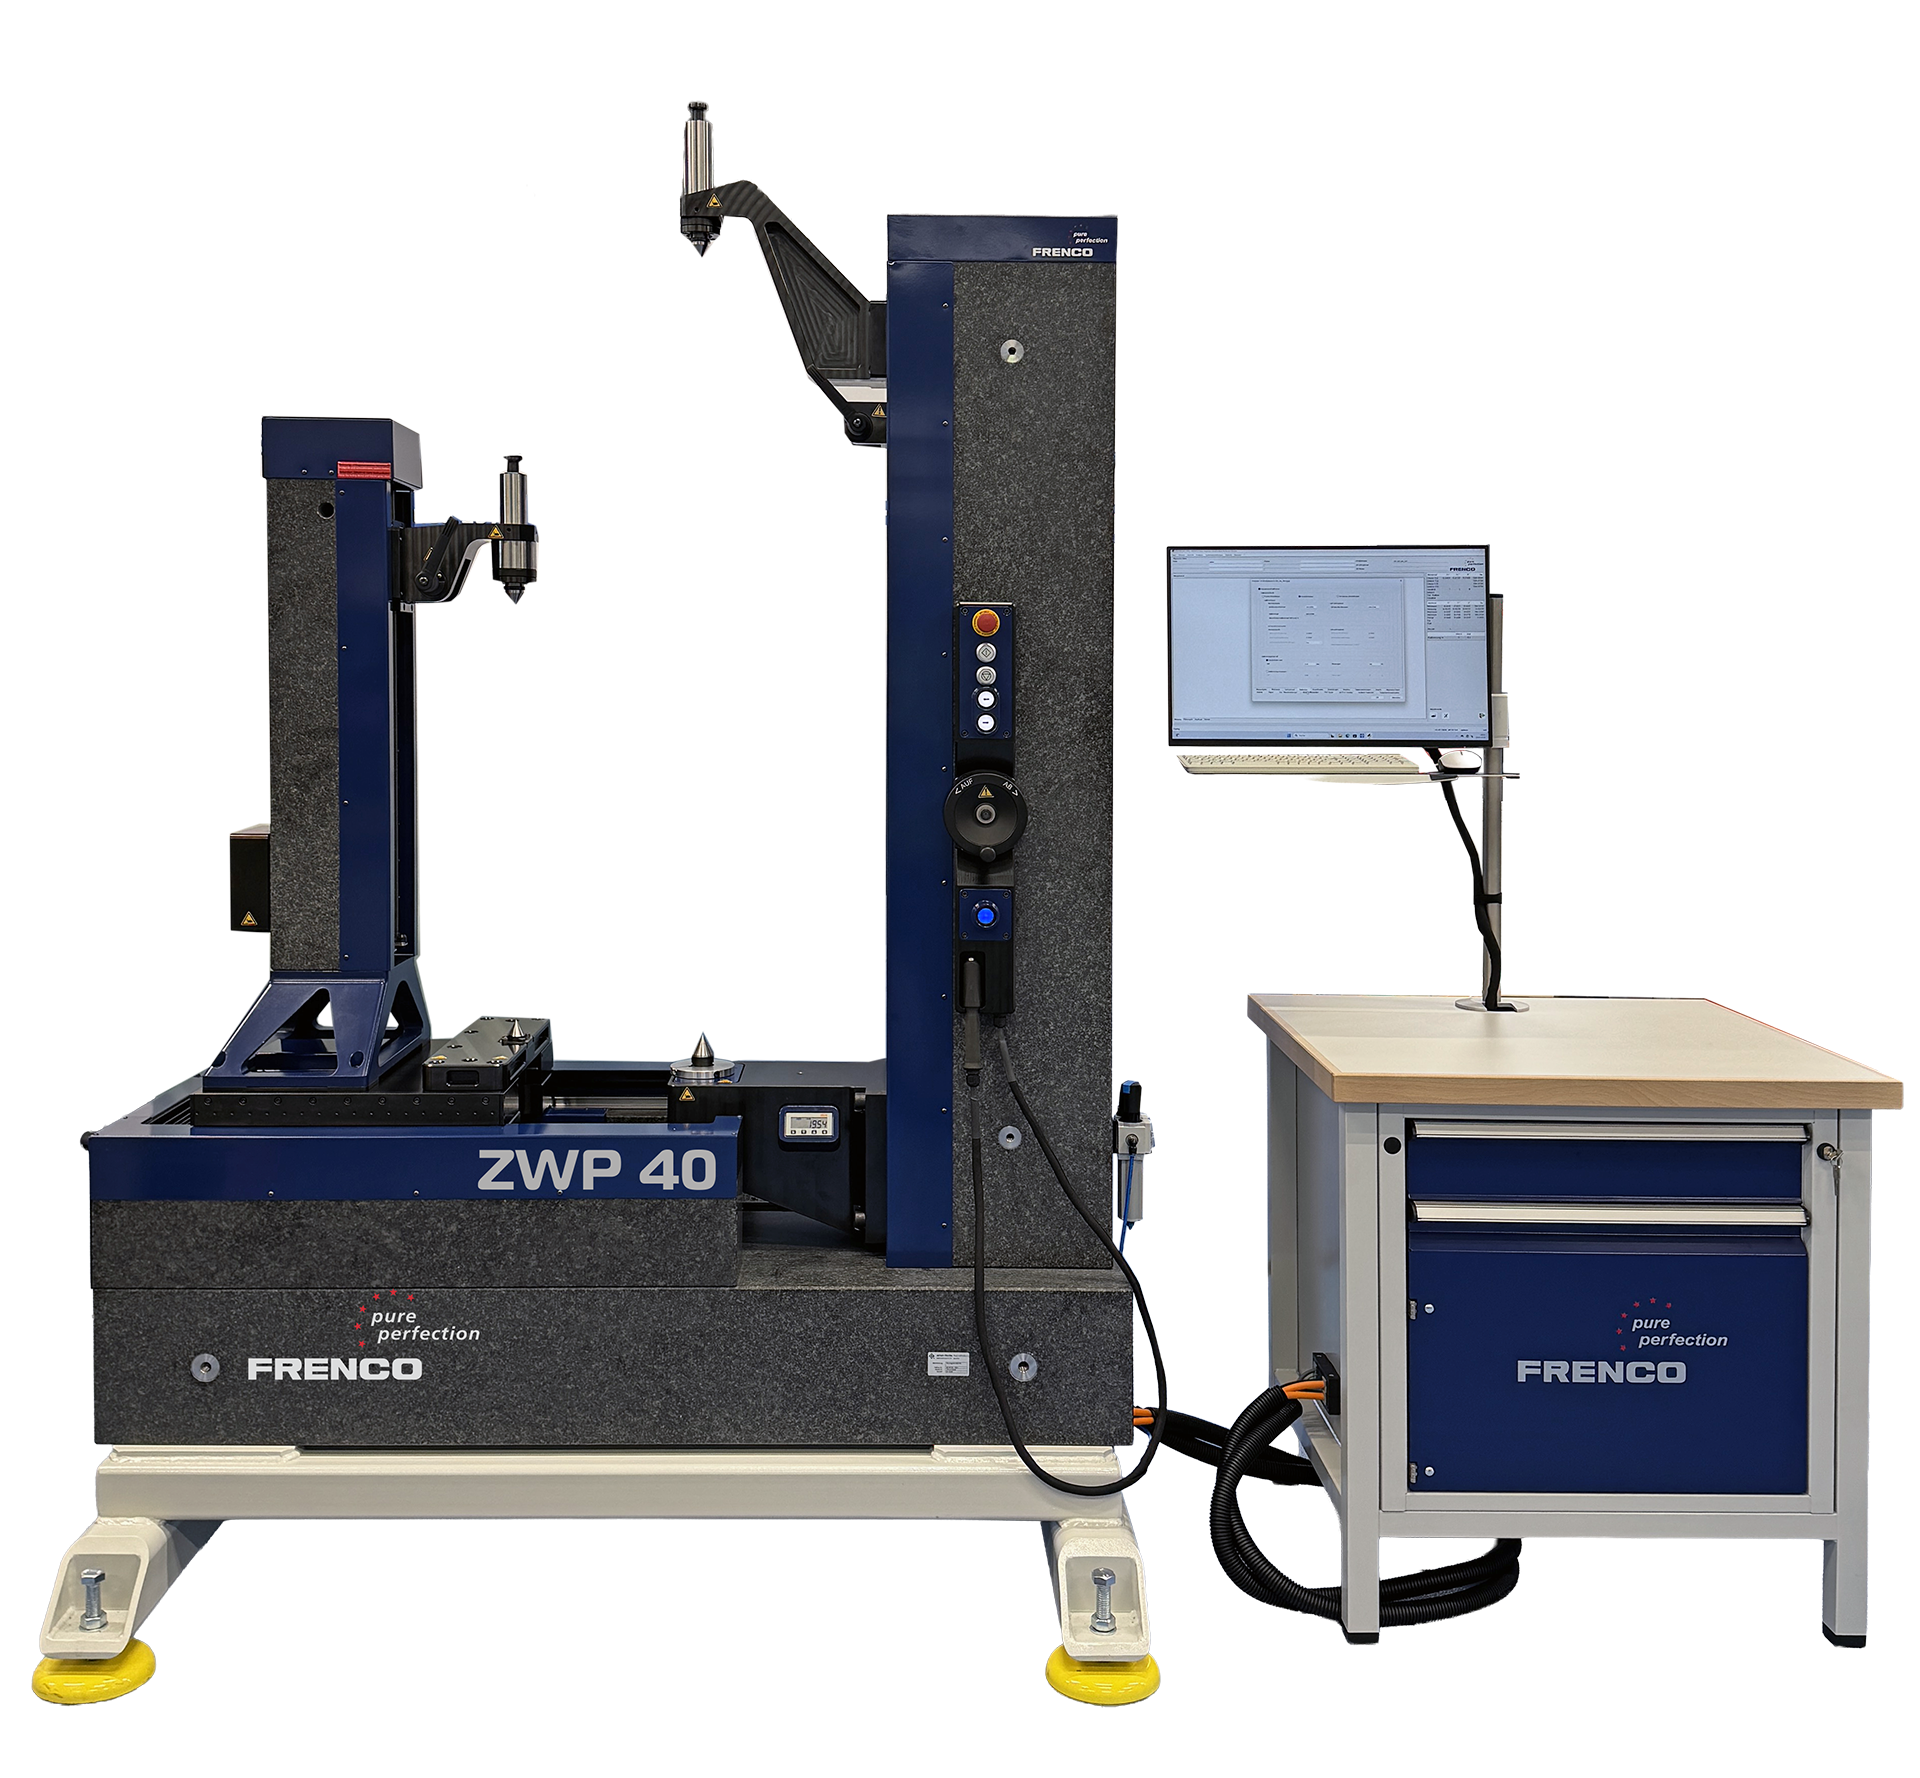
With the newly developed double-flank rolling tester ZWP 40, FRENCO sets new standards in quality assurance for screw compressors.
- Maximum precision thanks to a stable natural granite base
- Fast measurement results in just 10–20 seconds
- Detection of even the smallest tolerances from ≥ 15 µm
- Ergonomic, robust design for industrial use
Measurement is performed reliably using Method 1 on the master part—for reproducible and highly accurate results.
Intelligent analysis included
With the user-friendly FGIpro software, you maintain full control at all times:
- Complete evaluation of all relevant parameters
- Clear graphical visualization
- Extensive options and data export functions
- Multilingual availability
Your advantage: safety, efficiency, and top-level quality
With the FRENCO ZWP 40, you invest in a future-proof solution for the precise quality assurance of your screw compressors—securing a decisive competitive advantage.
FRENCO ZWP 40 – precision you can rely on.
The specialist for highest precision
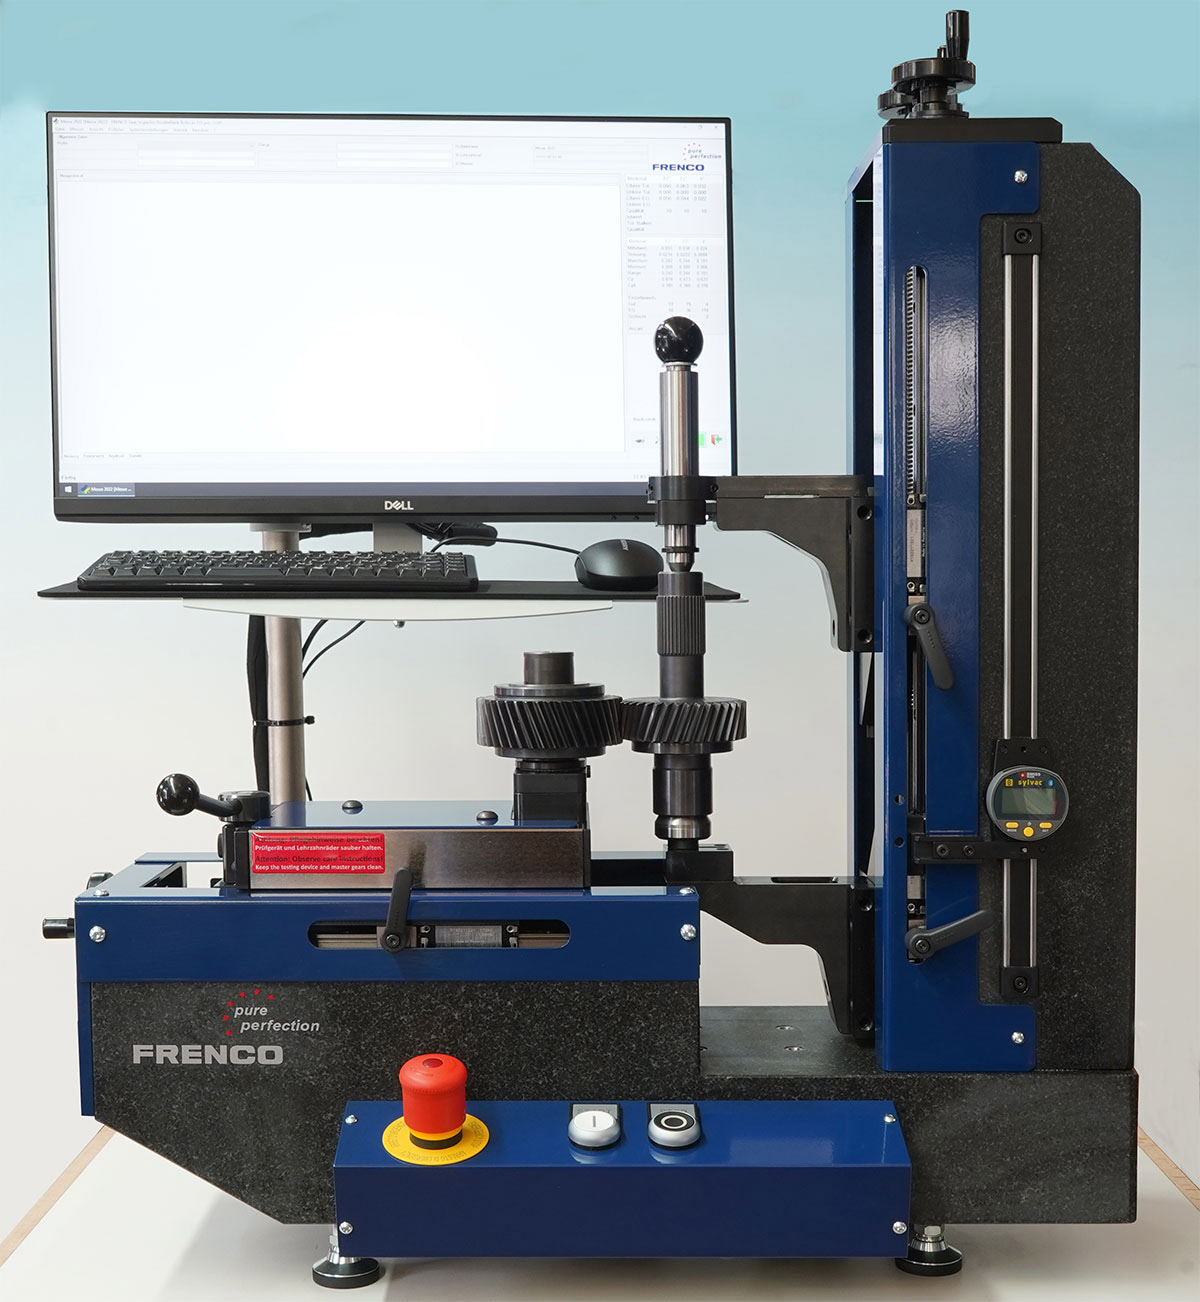
The radial double flank gear test is a quick and simple inspection method for gears.
- Very flexible construction
- Granite machine base
- Exact height adjustment at the steady centre
- attachment is done by cranks
- Centre distance: Setting value is kept by scale, even when the carriage is moved
- Measuring force readout via spring force: 1 – 11 N
- Maximum workpiece diameter: 200 mm
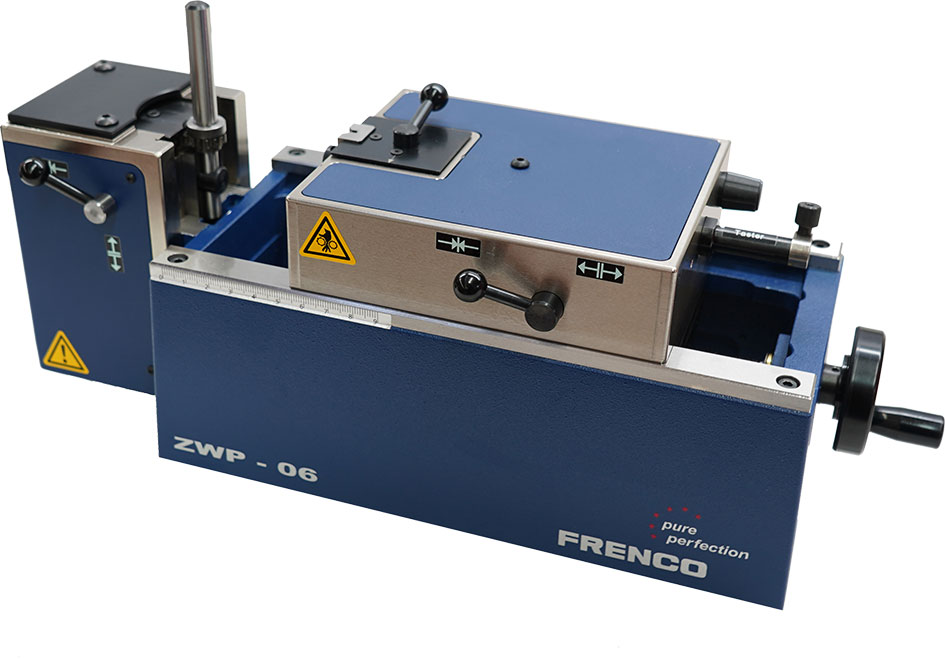
Specialist for small yet highly precise gears
- For internal and external gears, worm gears and worms
- Suitable for plastic gears
- Module range: 0.15 – 1.00 mm
- Minimum centre distance: 10 mm
- Max. diameter of specimen: 80 mm
- Repeatability with calibration set from FRENCO < 1.5 µm
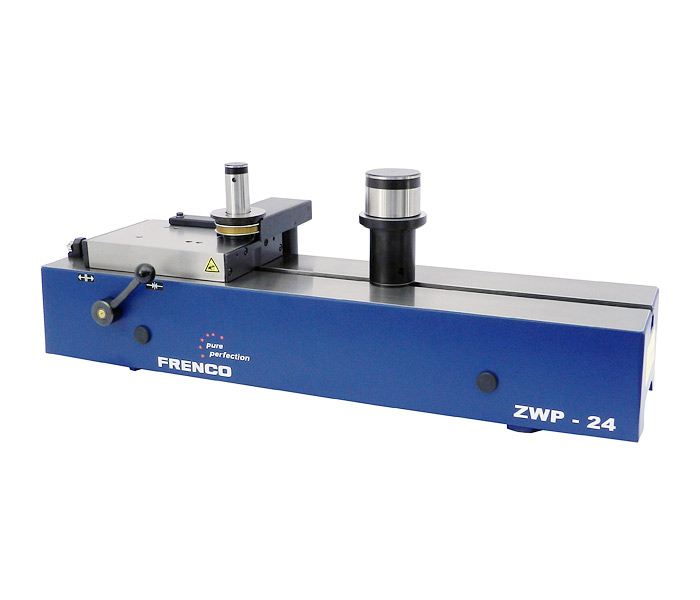
Specialist for the shop-floor use
- For internal and external gears, worm gears and worms
- Different bed length (ZWP 14/ZWP 24)
- Low base price of the ZWP 24 due to the modular system
- Minimum centre distance: 20 mm
- Max. diameter of specimen: 400 mm (single end) / 160 mm (between tips)
- Repeatability with calibration set from FRENCO < 1.5 µm
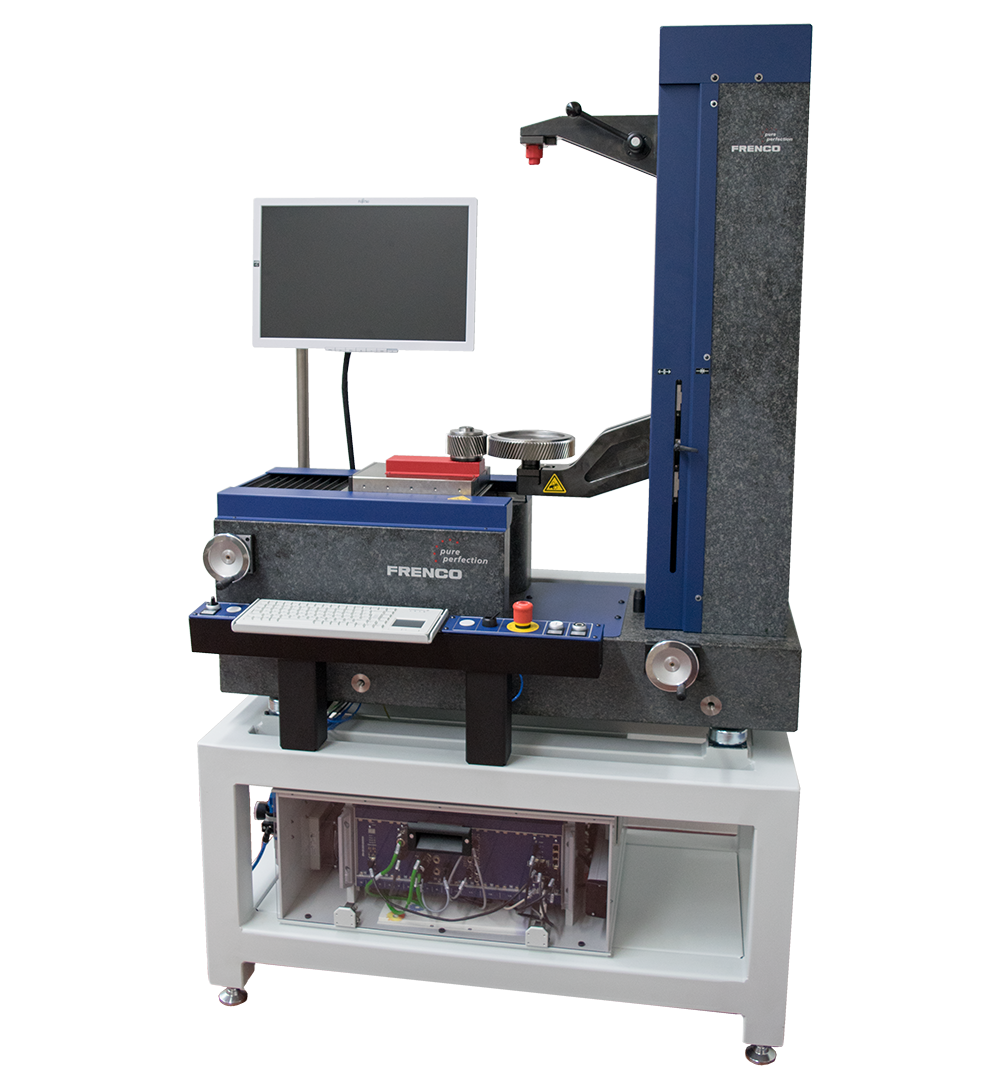
Specialist for Large Gears
- For large external gears, shafts and worms
- Despite heavy weight loads, a granite machine base and cross roller bearings guarantee precise measurements
- Stable and optimised design for the shop-floor use
- Changeover for other specimens is easily and quickly to handle
- Minimum centre distance: 70 mm
- Max. diameter of specimen: 500 mm
- Max. shaft length: 750 mm
Hommel, DWU and Mahr double-flank gear roll testers
You do not have a contact person for your Hommel, DWU, or Mahr brand double-flank gear roll testers? Do you have an upcoming audit and are unsure how to ensure audit-compliant calibration of your Hommel, DWU, or Mahr double-flank rolling tester in accordance with IATF 16949 / ISO 9001?
FRENCO can help
- Our experienced service technicians carefully check all essential functional parameters of your machine—independent of the associated control and evaluation electronics.
- With our maintenance services, you ensure the long-term precision and reliability of your DWU and Mahr double-flank rolling testers.
- After successful maintenance and calibration, you will receive a test label affixed directly to the machine as well as a detailed maintenance report for complete documentation.
Please note that for DWU machines, a chargeable preliminary check is required to assess the condition of the double-flank rolling tester and to determine whether maintenance, calibration, or retrofitting is possible. The costs for this preliminary check will be credited back to you if an order is placed.
Maintenance
- Inspection and adjustment of the measuring axes and workpiece fixtures
- Visual inspection of the pneumatic tubing, including verification of pressure settings and the air preparation unit
- Inspection of all wear parts, with the option of replacement upon consultation
- Thorough cleaning of the machine to ensure long-term reliable operation
Please note that calibration can only be performed on machines that have been maintained beforehand—this is the only way to guarantee maximum accuracy. Maintenance does not include repair work on the machine or the overall system. If a need for repair is identified during maintenance, this can be carried out in consultation with the customer. If a repair is not possible, the machine will be deemed non-calibratable by FRENCO.
Calibration
- Calibration is carried out directly on the machine using our own control and evaluation unit.
- As part of the calibration, process-specific measurement deviations of the measuring device are determined using a validated calibration set of master gears with defined deviations.
- In doing so, known and process-typical errors are deliberately introduced and their step response is evaluated.
- The results are comprehensively documented and evaluated in an individual calibration certificate.
Please note that third-party electronics cannot be tested or repaired. Following the preliminary check of your machine, we would be happy to offer you FRENCO electrics, electronics, and software. … and last but not least:
Of course, we also offer inspection equipment monitoring for your master gears / master worms and Retrofit!
Calculating the Dimension over Balls DOB“
For the double flank gear test, the variations in centre distance during one full rotation are detected and displayed as a roll curve. The roll curve comes up to the radial changing of the specimen compared to a master gear, almost free from errors. Adjusting the gear tester with known centre distances (setting masters) the absolute value is known and can be converted to the radial ball dimension of the specimen. From this, the dimension over balls can be calculated.
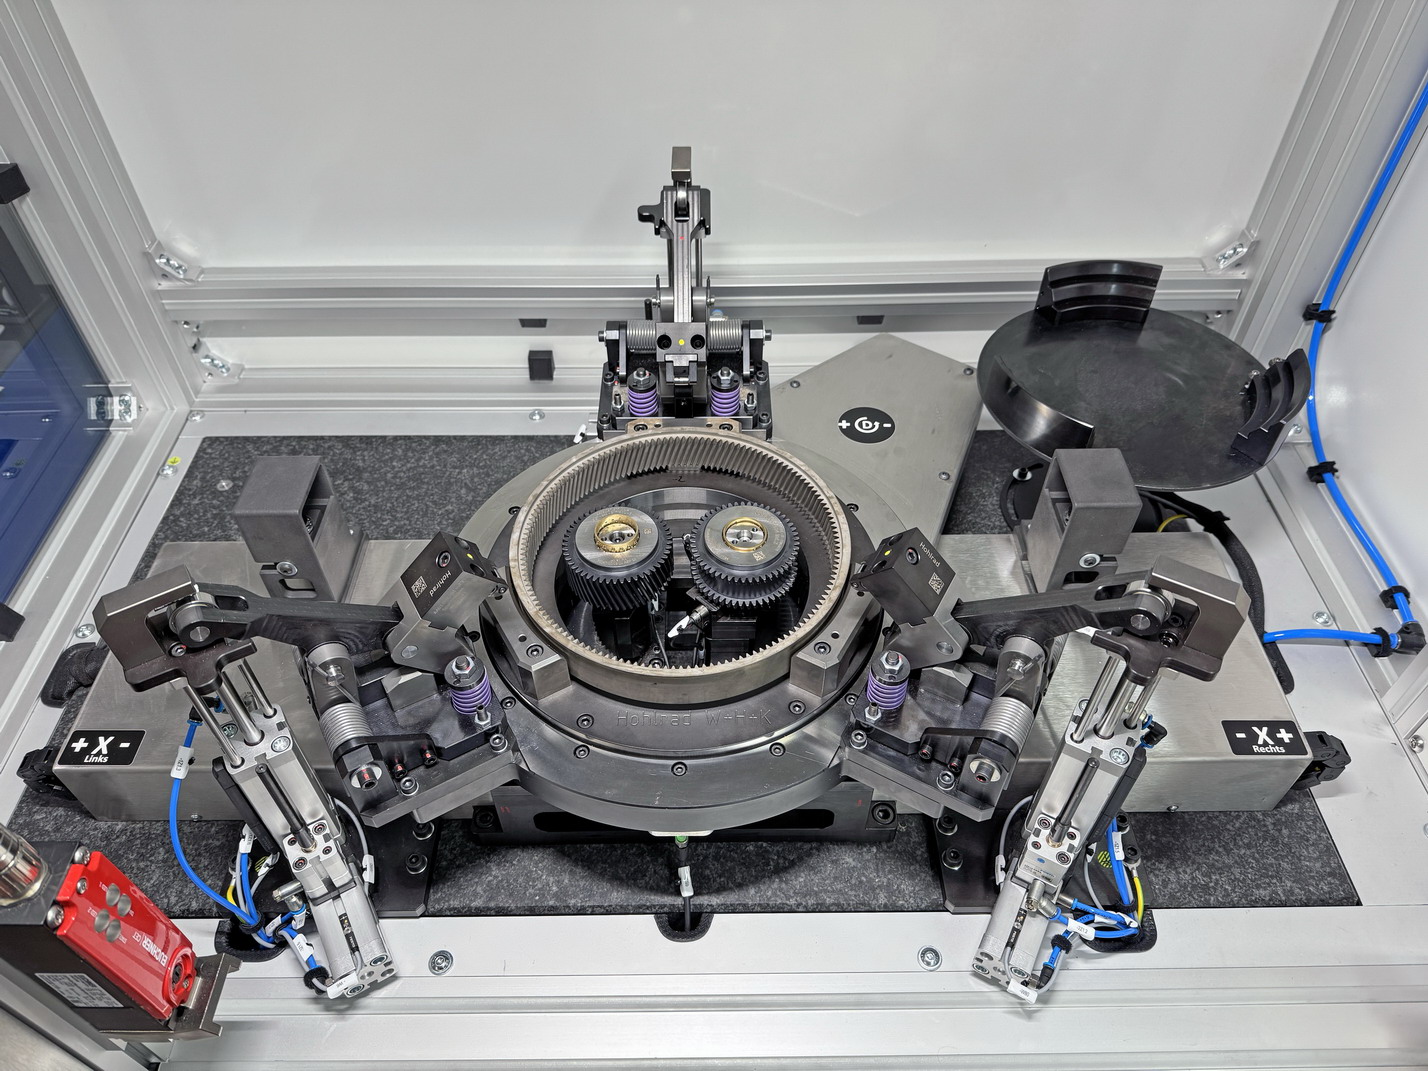
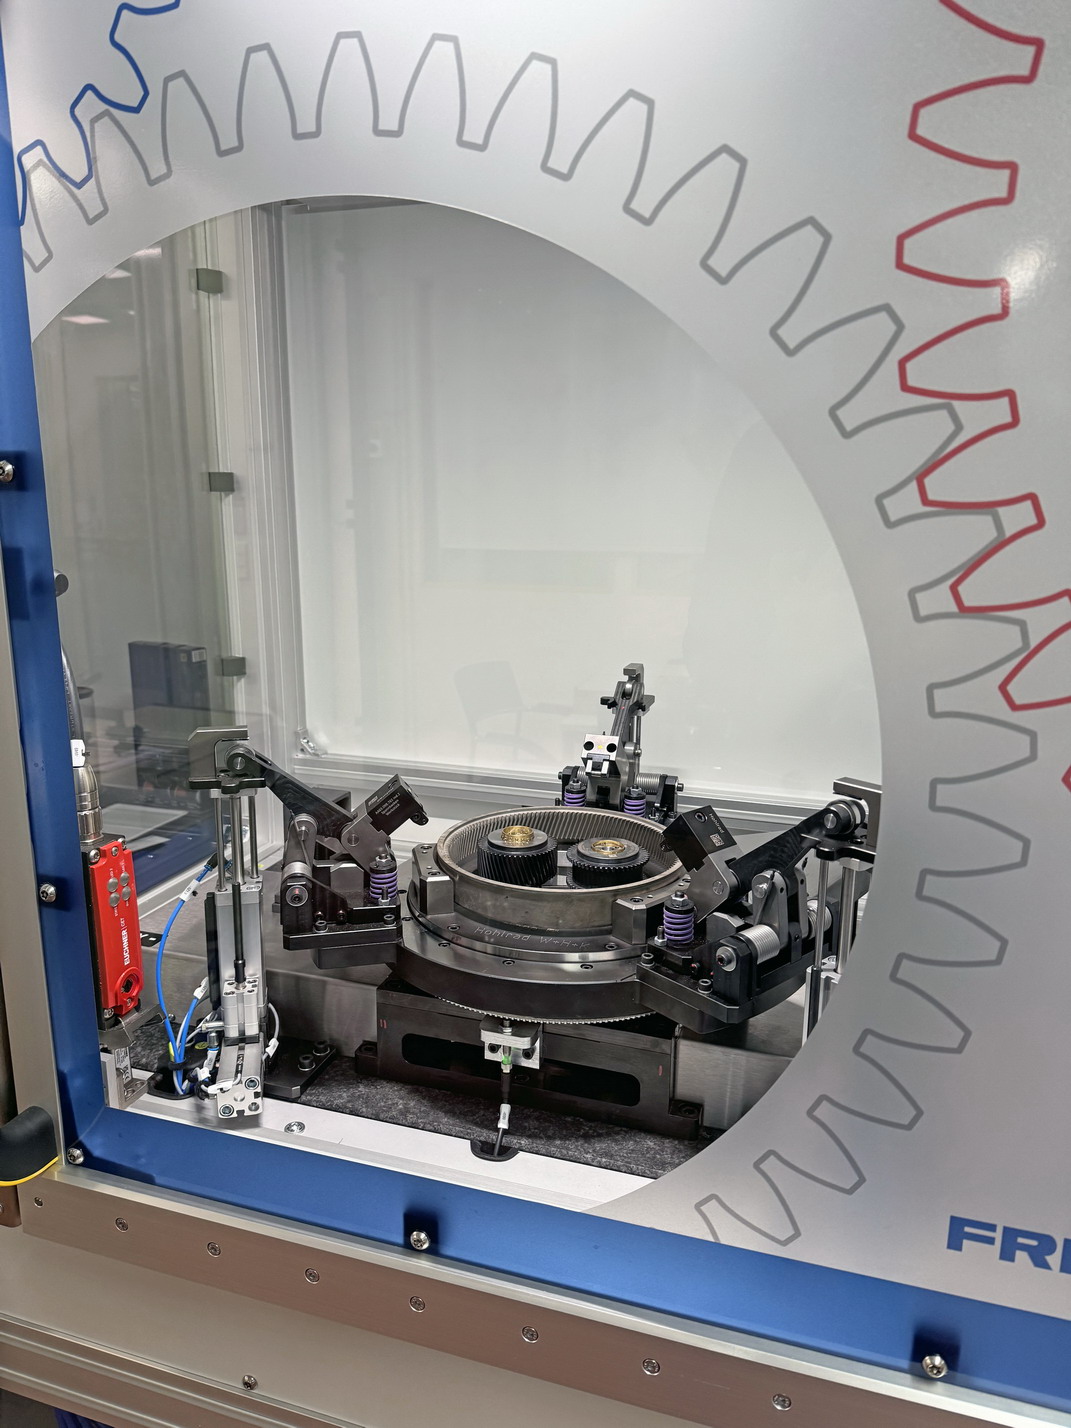
New: Inspection Machine for Ring Gears
- For internal gears
- Double flank gear inspection and diameter inspection
- Simultaneous recording of multiple characteristics
- 3-point clamping system
- Customised design
- Can be integrated in handling system for 100% inspection
- Evaluation with FRENCO-Software RMpro
 Deutsch
 English